SQL 2017 is just about to be released, and one of the big ticket items is that SQL Server is now supported on the Linux platform.
In subsequent posts, I’ll be reporting on In-Memory OLTP on Linux, but first we’ll need to cover some Linux basics. I flirted with Unix ages ago, and I’ll be the first to admit that my brain doesn’t really work that way (perhaps no one’s brain does).
First, a note about environments – I usually like to work on a server in my home lab, because it has a lot of cores, 64GB of memory, and there’s no hourly cost for using it (and also because I built it….).
So I downloaded a copy of Ubuntu, CentOS, and a trial copy of Redhat Enterprise Linux, and attempted to install each one in my VMware Workstation environment. I spun my wheels for a few hours, and could not get any of them up and running in the way that I required. So, in the interest of saving time, I hit my Azure account, created a VM running Redhat, and proceeded to install SQL 2017 CTP2. Instructions for installing SQL 2017 on Linux can be found at this link. It should be noted that the installation varies by Linux distribution.
Those of us who don’t know Linux commands by heart, and are used to firing up GUI-based virtual machines, are in for a bit of a rude awakening. While it is possible to install GNOME on RHEL, you can’t simply RDP into the VM without a lot of Linux admin setup for xdp (I never did get it to work). So how do you connect to your Linux VM running SQL Server to do basic tasks? The answer is: PuTTY
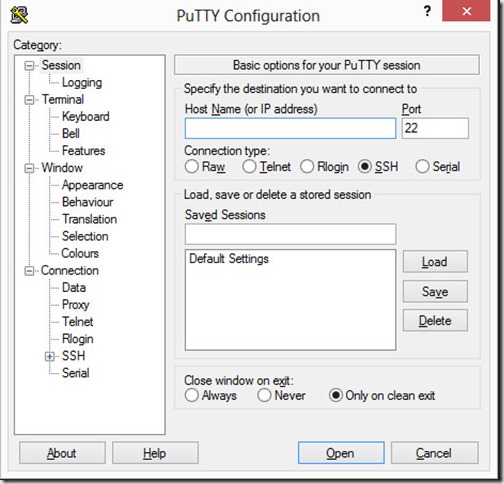
PuTTY can be downloaded from this link, and after you install it on your client machine (your laptop or home workstation), connecting to your Azure VM is very easy. When you run PuTTY, you’re presented with the following window, and you can simply enter your IP address into the “Host Name (or IP address)” section, and click the “Open” button:
(you might receive a warning to confirm you want to connect).
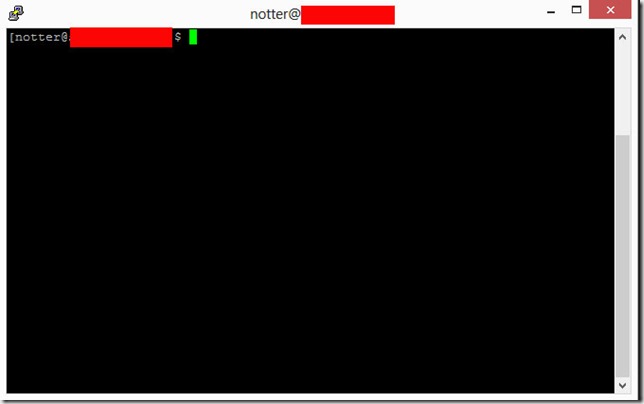
Once you connect to the Azure VM, you are prompted for your user name and password, and after logging in to the VM, you arrive at the home directory for your login.
Once you’ve installed SQL Server according to the instructions at this link, you can use SSMS from your desktop to connect over the public internet, and manage your SQL Server environment. It’s a really good idea to limit the inbound connections for your VM to only your IP address, otherwise bots from all over the globe will attempt to hack your machine (you have been warned….).
Now that SQL Server is installed and running, we can attempt to connect, and create a database.
In SSMS, click connect, choose “Database Engine”, and when prompted, enter the user name and password. Make sure “SQL Server Authentication” is chosen, and not “Windows Authentication”.
The first thing I did was to determine where the system databases were stored, so I executed:
sp_helpdb master
I used the same path as the master database files to create a test database:
USE master
GO
CREATE DATABASE [TestDB]
ON PRIMARY
(
NAME = N’TestDBData’
,FILENAME = N’/var/opt/mssql/data/TestDB.mdf’
,SIZE = 100MB
,MAXSIZE = UNLIMITED
,FILEGROWTH = 100MB
)
LOG ON
(
NAME = N’TestDBLog’
,FILENAME = N’/var/opt/mssql/data/TestDB.ldf’
,SIZE = 100MB
,MAXSIZE = 2048GB
,FILEGROWTH = 100MB
);
GO
That worked fine, but what if we want to create a database in a separate folder?
Using PuTTY, we can create a folder using the mkdir command (xp_cmdshell is not currently supported for SQL Server running on Linux):
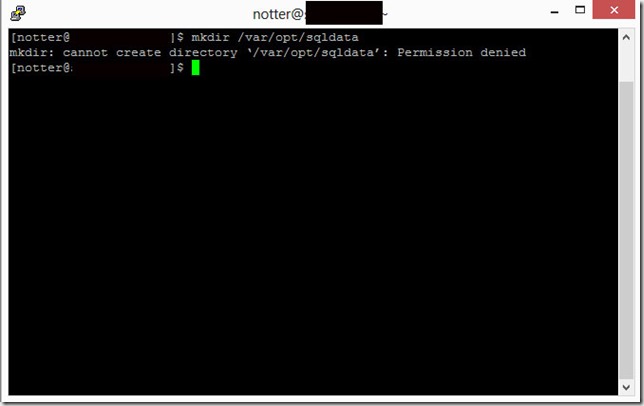
mkdir /var/opt/sqldata
Unfortunately, that didn’t go as planned! We don’t have permission to create that folder, so we’ll try using sudo (more on sudo at this link):
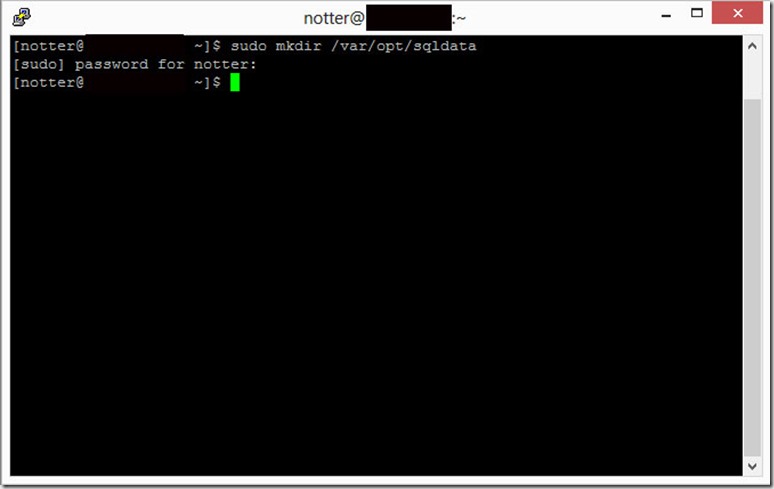
sudo mkdir /var/opt/sqldata
sudo prompts you for your password, after which it will create the directory.
Now that the directory has been created, we can attempt to create a new database there.
USE master
GO
CREATE DATABASE [TestDB2]
ON PRIMARY
(
NAME = N’TestDB2Data’
,FILENAME = N’/var/opt/sqldata/TestDB2.mdf’
,SIZE = 100MB
,MAXSIZE = UNLIMITED
,FILEGROWTH = 100MB
)
LOG ON
(
NAME = N’TestDB2Log’
,FILENAME = N’/var/opt/sqldata/TestDB2.ldf’
,SIZE = 100MB
,MAXSIZE = 2048GB
,FILEGROWTH = 100MB
);
GO
Still no luck – what could be the issue?
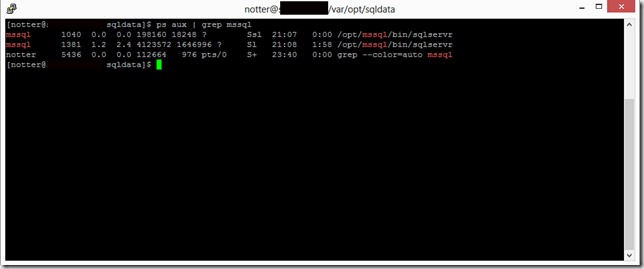
Let’s check the security context of the mssql service:
ps aux | grep mssql
So, the sqlserver process executes under the mssql user account. Let’s check permissions in the sqldata directory with:
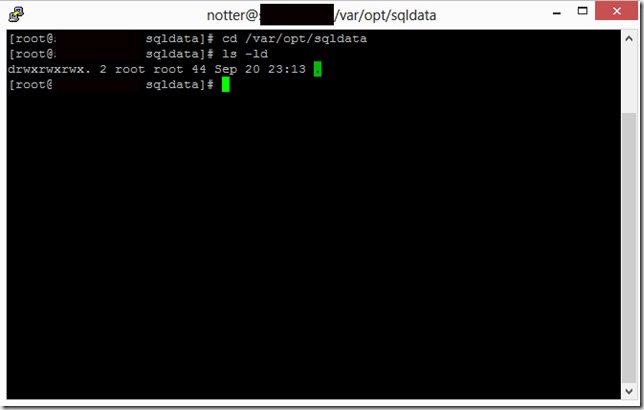
stat –format “%A” /var/opt/sqldata
On my VM, the results are:
rwxr-xr-x
Permissions for Linux files are separated into three sections:
- owner
- group (for the file or directory)
- others
Each section can have the following attributes:
- (r)ead
- (w)rite
- e(x)ecute
For more information on these attributes, please visit this link.
It’s easier to interpret the output if we break it up:
[rwx] [r-x] [r-x]
- the directory owner has read, write, and execute permission
- the directory group has read and execute permission
- others have read and execute permission
When we create a directory, it’s owned by root. The problem with creating a database in this directory should be obvious: only the owner of the directory has write permission.
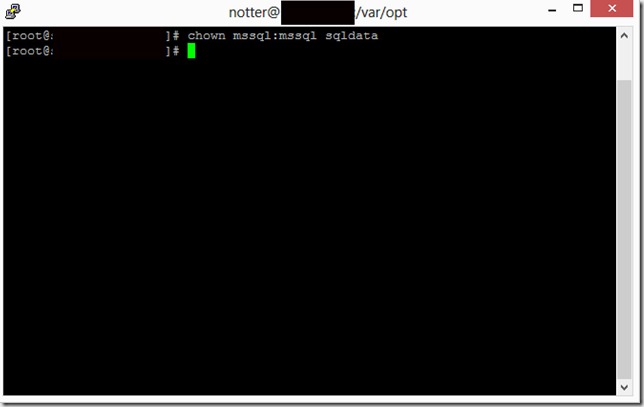
Let’s make the mssql user the owner of the sqldata directory:
chown mssql:mssql /var/opt/sqldata
And finally, we’ll check the permissions for the sqldata folder:
Now let’s retry our CREATE DATABASE statement.
USE master
GO
CREATE DATABASE [TestDB2]
ON PRIMARY
(
NAME = N’TestDB2Data’
,FILENAME = N’/var/opt/sqldata/TestDB2.mdf’
,SIZE = 100MB
,MAXSIZE = UNLIMITED
,FILEGROWTH = 100MB
)
LOG ON
(
NAME = N’TestDB2Log’
,FILENAME = N’/var/opt/sqldata/TestDB2.ldf’
,SIZE = 100MB
,MAXSIZE = 2048GB
,FILEGROWTH = 100MB
);
GO
Voila! We successfully created a database in the intended folder.
Seasoned DBAs might be wondering about Instant File Initialization (IFI), a best practice on Windows that greatly increases the speed of creating or extending data files.
When IFI is not configured, data files must be zeroed when created or extended. Does Linux have something akin to IFI? The answer is…..IFI does not exist as a thing you can configure on the file systems that SQL on Linux supports (EXT4, available on all distributions, or XFS file system, available only on Redhat).
However, the good news is that on the Linux platform, data files are not initialized with zeros when created or extended – Linux takes care of this without any intervention from DBAs.
Anthony Nocentino (@centinosystems) just blogged about the internals of file initialization on the Linux platform in this post.
